Hello all! I’ve been wanting to play with the Tim Holtz Distress Oxide sprays for a while now. One of the first times I used it, I sprayed it through a stencil onto a piece of cardstock. I messed up and missed a spot and then just didn’t like the end result. So I just started spraying over the top of it using a lot of the Tim Holtz Spray Stains (more on the differences between the two sprays later). Since I only had a few moments to work before cooking dinner, I came back later at which point the card stock was dry. Imagine my surprise when the stenciled image was still showing! It seemed like the Distress Oxide Spray resisted the Distress Spray Stains! Cool (although I still didn’t like the stenciled image haha).
Distress Oxide Spray has pigment in it. Pigment ink is very useful for using on top of darker papers and for holding on to things like embossing powder etc. It is typically more opaque than dye base inks, which do not work well on darker colors, but dry quickly. The Distress Oxides Sprays and the original Distress Spray Stains are both engineered to react with water. Tim Holtz does a bunch of things with the sprays and water and his backgrounds are lovely. I tend to not use as much water, mainly because it is another step and I am usually trying to do things in 5 minutes or so ;). In my case it seems like the water in the Distress Spray Stain is resisted by the pigment in the Distress Oxide Spray, or maybe there are other ingredients that cause this to happen, I’m not sure but either way the result is very fun!
So in this video I spray through a stencil onto cardstock with the Distress Oxide Spray. My stencils are cut from Yupo paper which I discuss here. The ink does not dry very well on Yupo paper so I use a separate piece of cardstock to place on top of the other, catching the ink on the Yupo stencil effectively creating a reverse of the image. It’s a twofer! After I remove the stencil from the original piece of cardstock I am ready to move on to step number 2. Now I spray the original Tim Holtz Distress Spray Stains, over the top of the Distress Oxide sprayed image. I do the same thing on the other piece of cardstock with the reverse image. Immediately you can see the Distress Oxide image starting to reappear through the spray stain. I let the pieces dry while I go off to do something else.
Sometimes when I come back, if I want a little more or deeper color I will come back over with more of the Distress Spray Stains. If I were to use the Distress Oxide Spray that would cover up more of the stenciled image. When the card is dry, I am ready for further embellishments, sayings, stamping whatever I would like to do to finish it off. Not bad for a Take 5 (5 minutes of work or less)!
Here’s the video of my experiment…
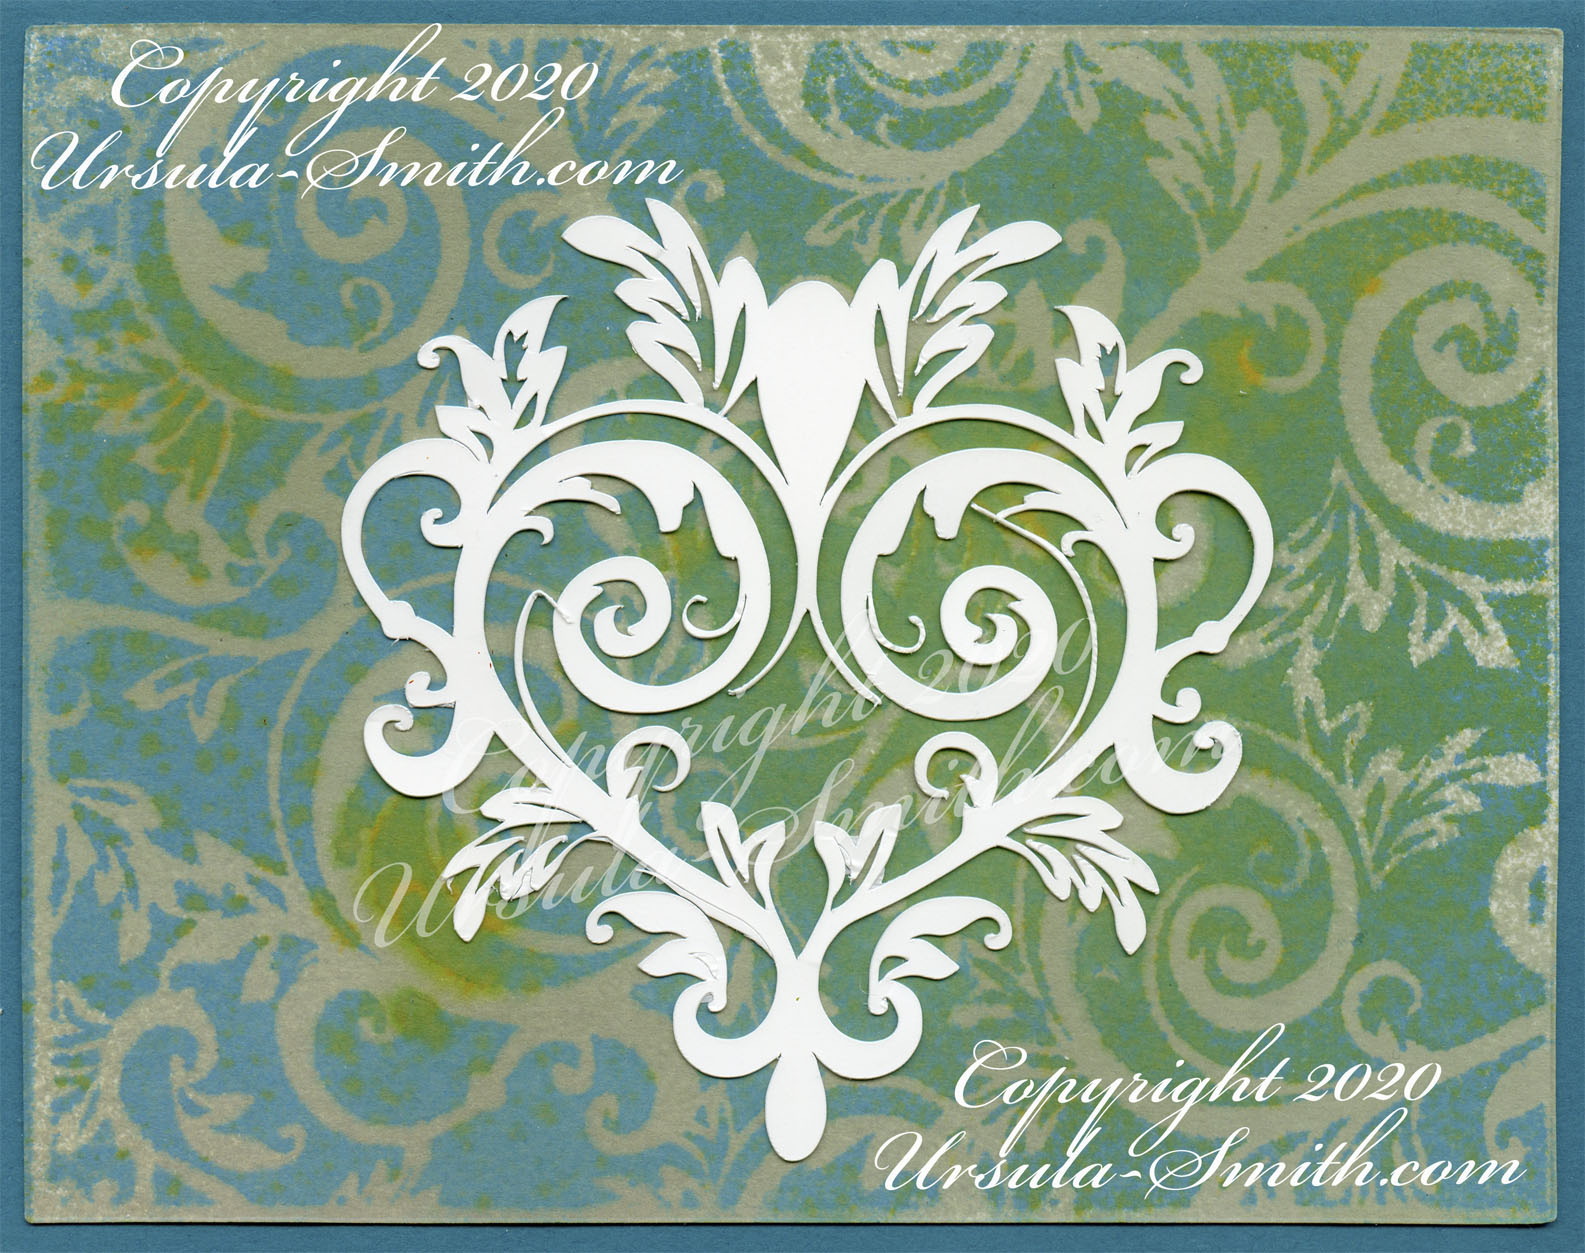
Here are some examples of the Distress Oxide Resist through a stencil…


Enjoy!


