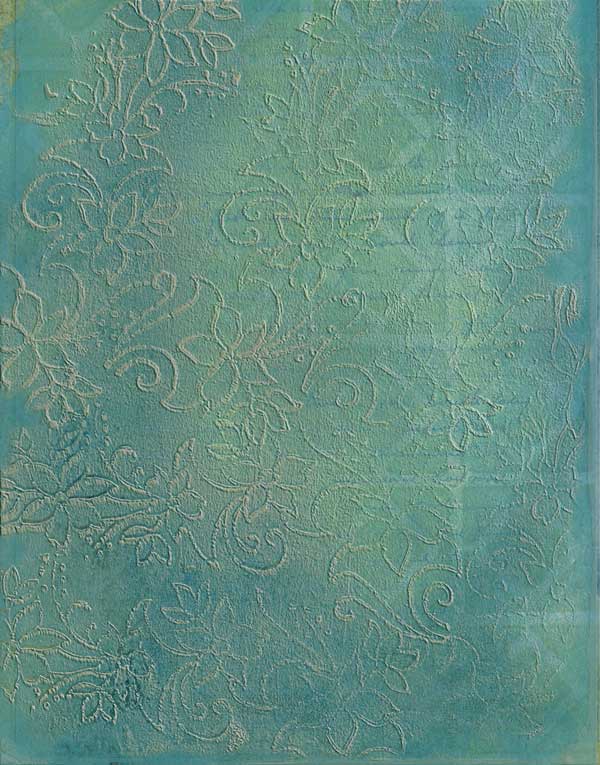
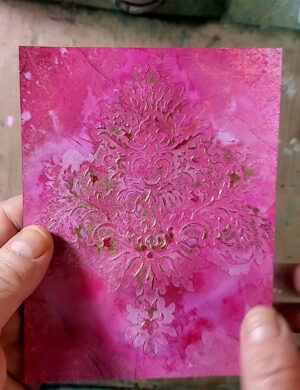
Hello, everyone! It has been a fun-filled, busy summer with little time for playing in my craft room, and even less time for blogging about it ;-). However, I told a friend I would post a how-to on creating a brush in Photoshop. There are tons of tutorials on this subject, so to be a little bit different, I decided to start with a print from my Gelli Art plate, since we had been discussing that as well. I also decided to try a video tutorial rather than a written one. My system is a little slow on the uptake in parts, but hopefully I covered all the important bits for you to do this on your own!
Some additional notes that I would like to emphasize:
- I hope it is clear from the video, that your image in Photoshop needs to be black and white. The black part of the image will become the part of the brush that picks up the paint. The white part will not pick up any paint and will be transparent.
- Also, I work with images that are as large as I can possibly make them, because I tend to stamp with my brushes rather than paint flow-y lines with them. You can always make a paint brush smaller in Photoshop, but to make the brush larger than the original, you would have to stamp it onto a layer, and then enlarge that layer, which would degrade the resolution.
Hope this helps you try to make your own Photoshop brush from your drawing or print. Enjoy!
