Tim Holtz Distress Oxide Spray Resist on Rubber Stamps

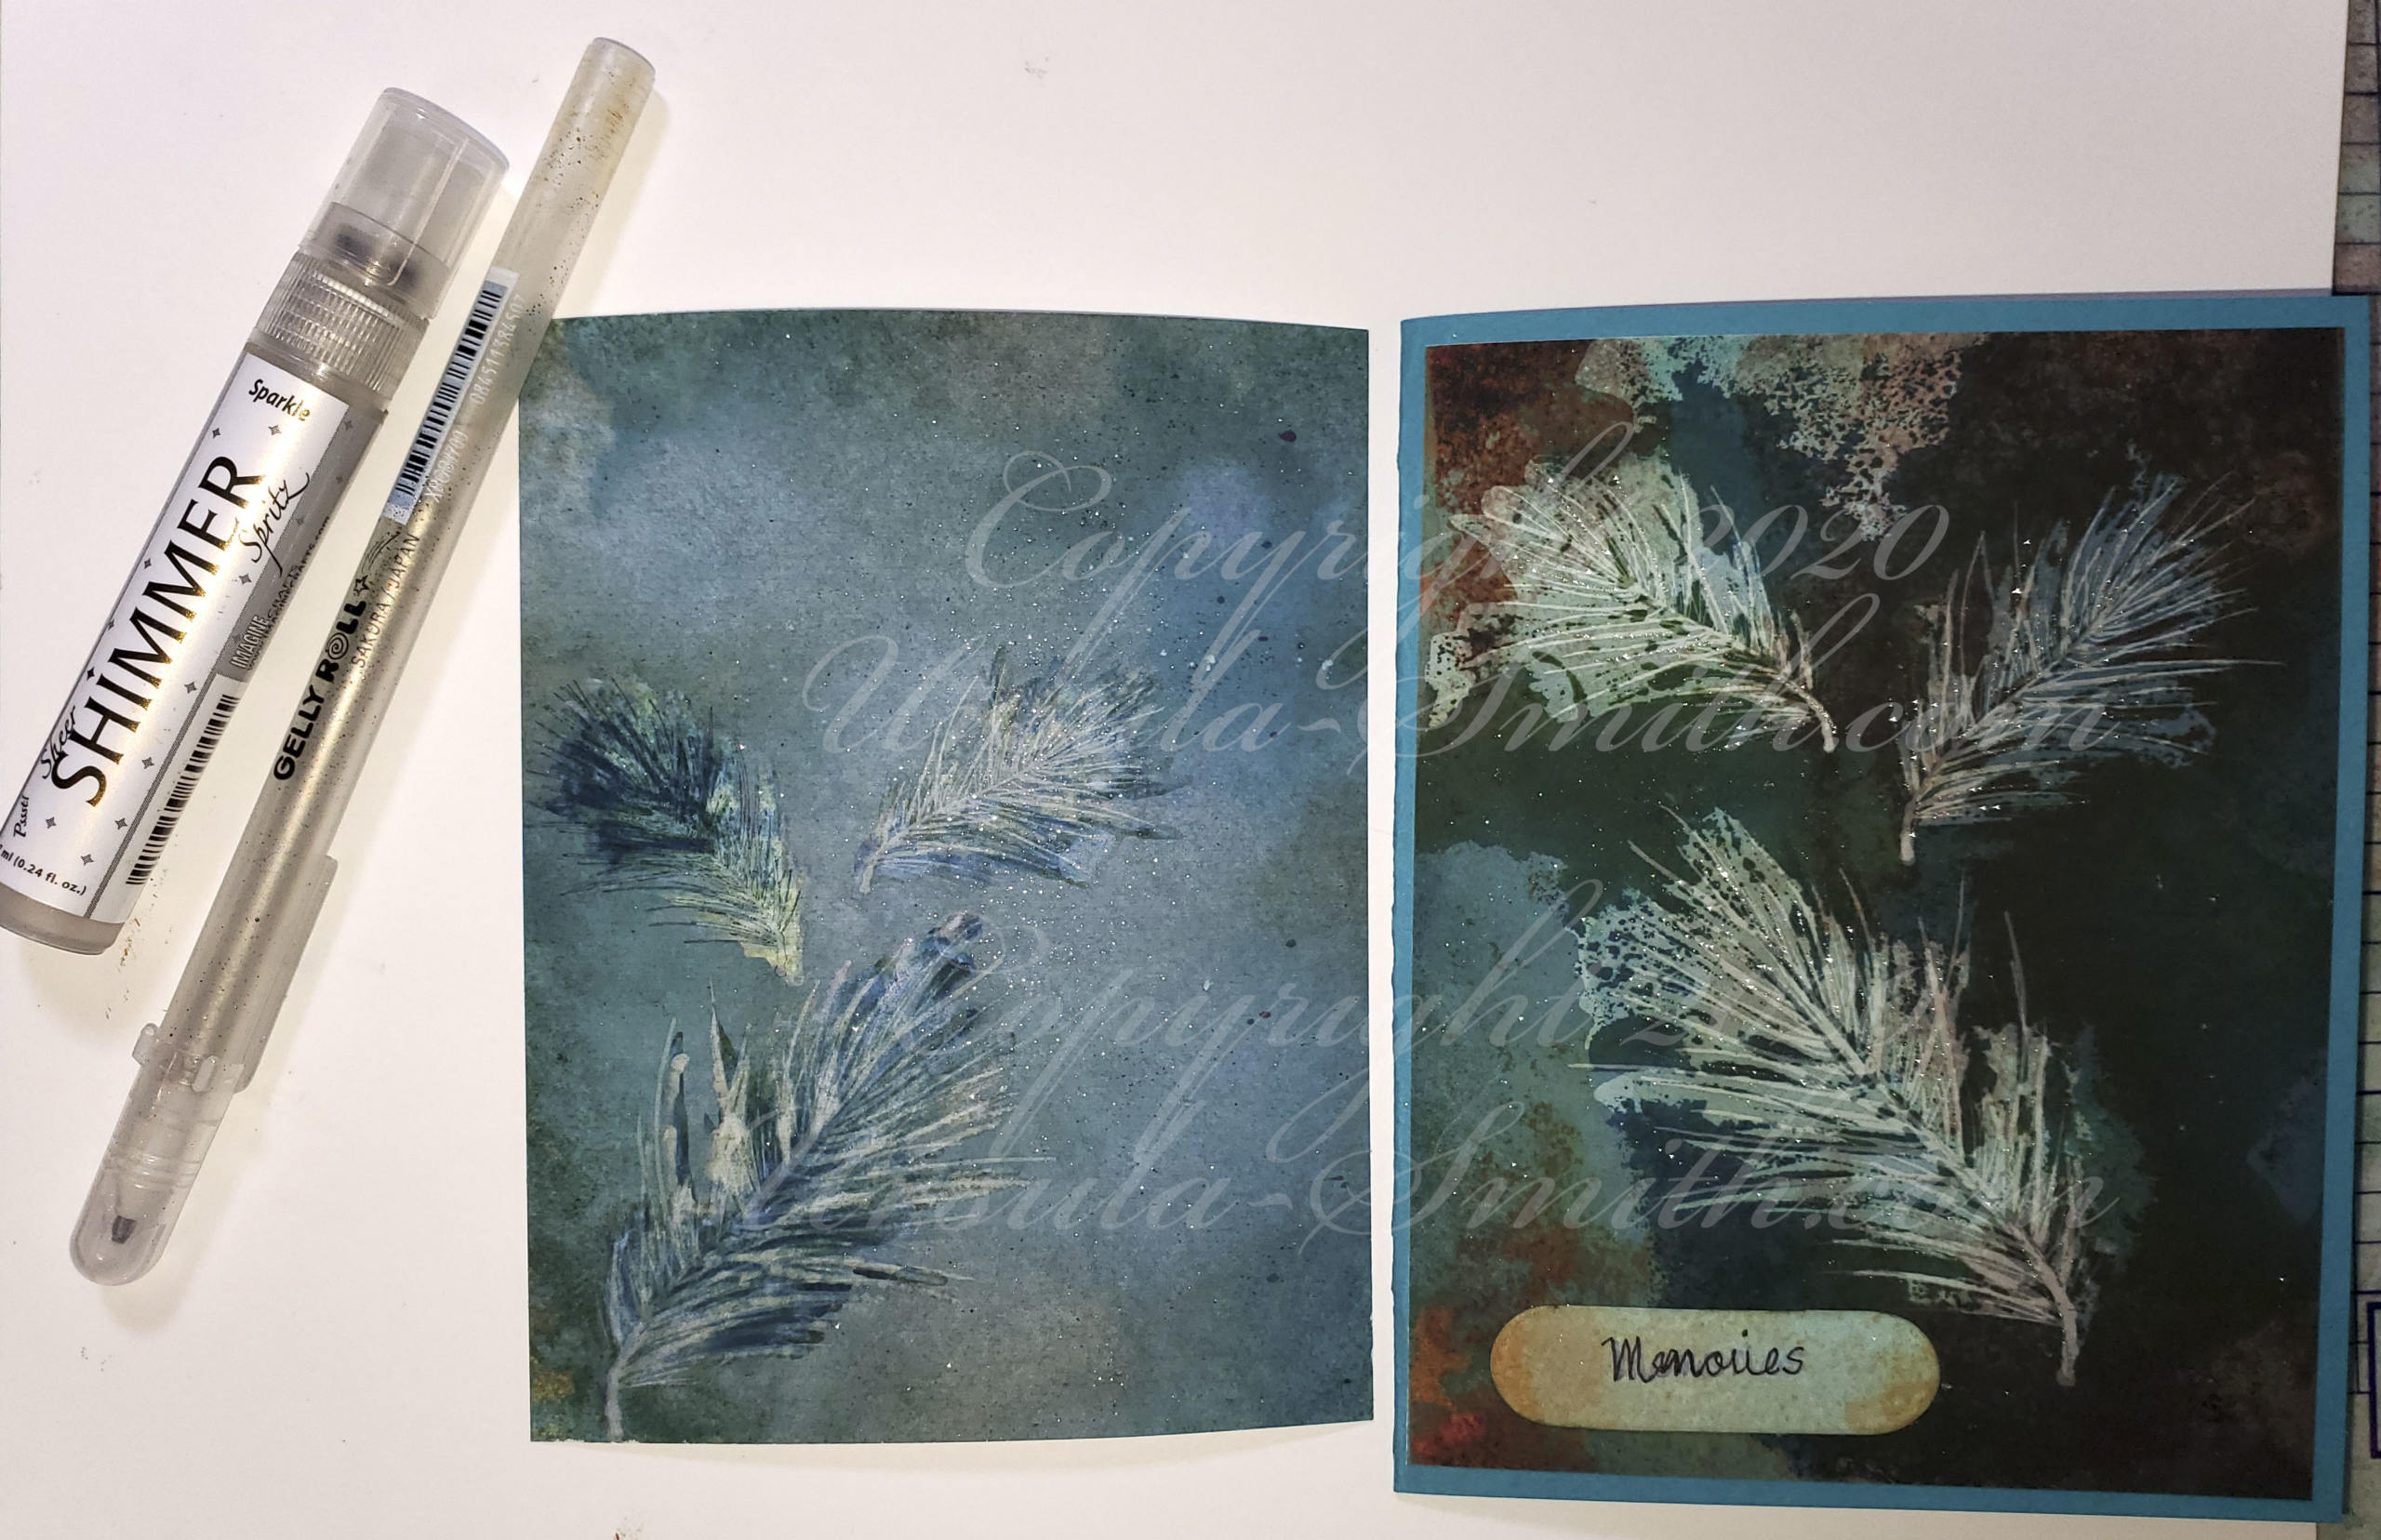
  Hello everyone! I’ve been playing around for the past few weeks with Tim Holtz Distress Oxide Sprays and Distress Oxide ink pads with the regular Spray Stains. Today, I am experimenting with Distress Oxide Sprays on a rubber stamp. This is one of my “long and winding road” experiment videos, but it ended up being…

Tim Holtz Distress Oxide Ink Pad Resist

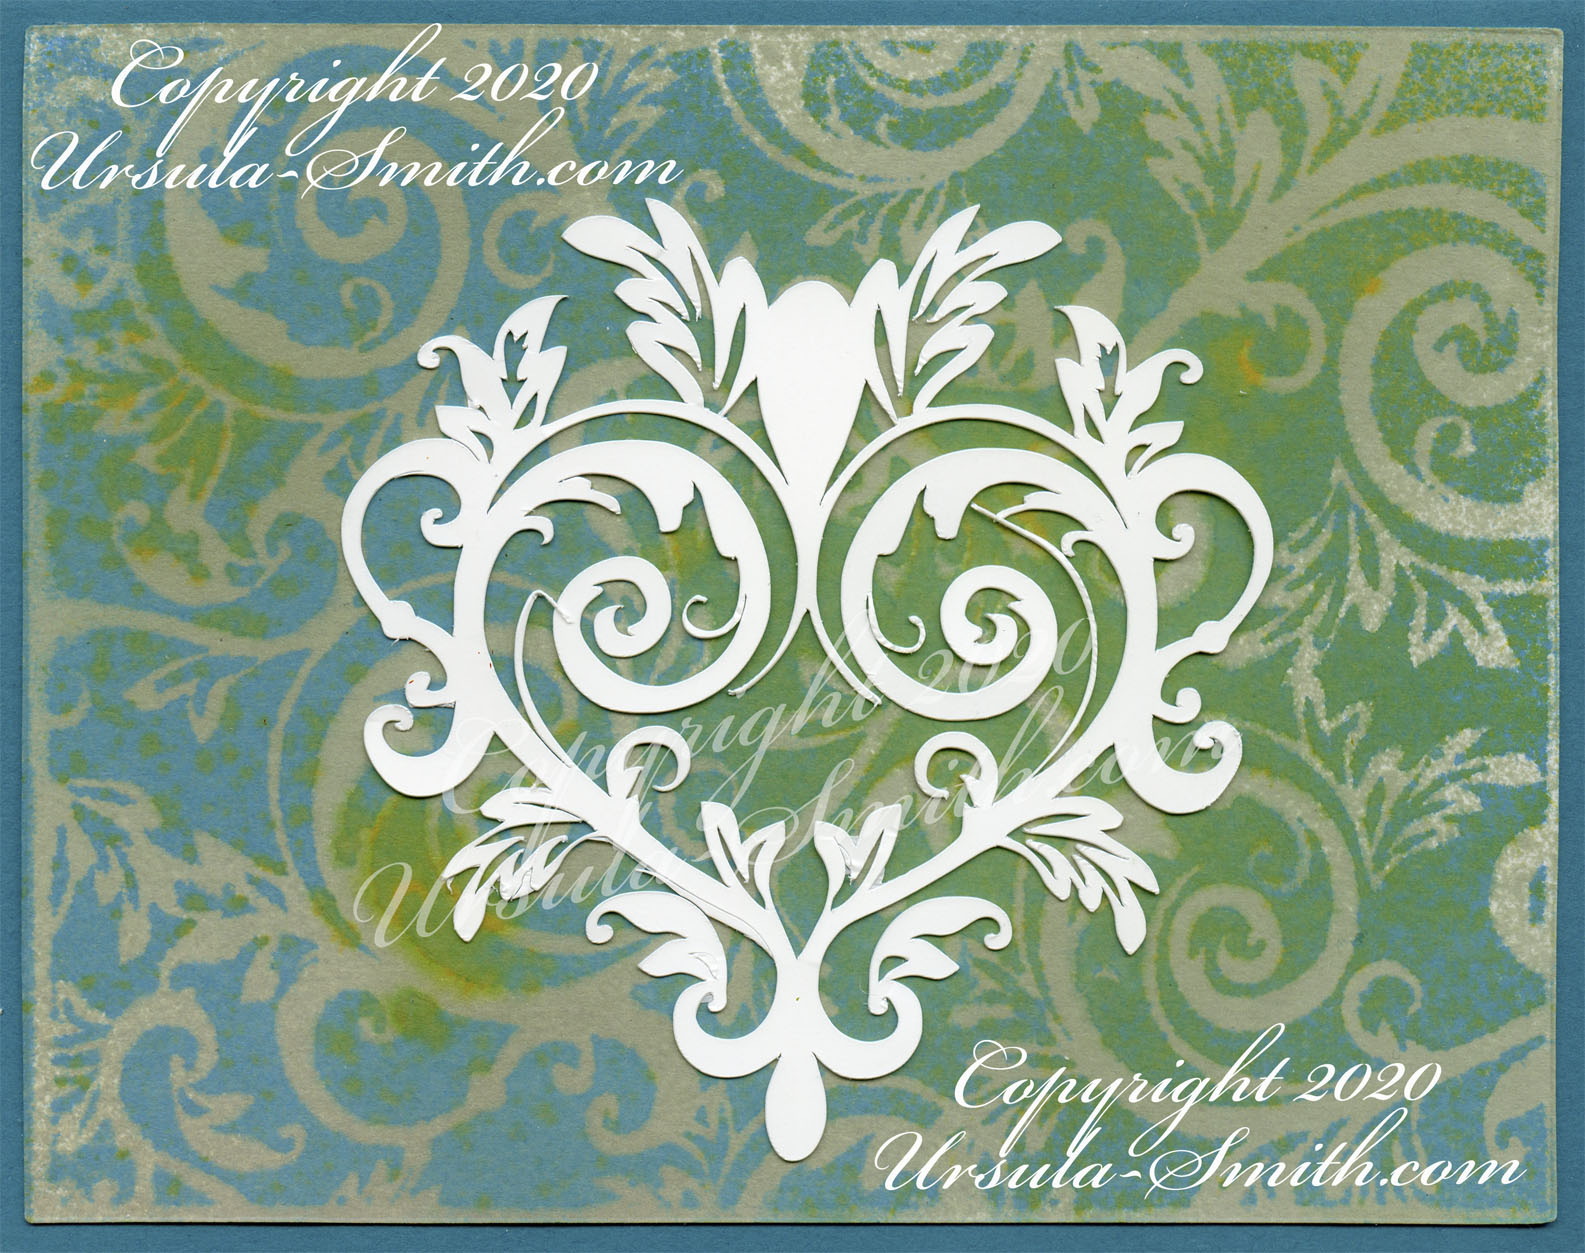
Hello everyone! A couple of weeks ago I experimented with Tim Holtz Distress Oxide spray through a stencil I cut on the Silhouette Curio. You can see the Silhouette cutting post here and the Distress Spray resist post here. In this post I decided to experiment with the few Distress Oxide Ink pads that I…

Distress Oxide Spray Resist through Stencil

Hello all! I’ve been wanting to play with the Tim Holtz Distress Oxide sprays for a while now. One of the first times I used it, I sprayed it through a stencil onto a piece of cardstock. I messed up and missed a spot and then just didn’t like the end result. So I just…

Using Stone Paper Stencils with Distress Sprays

Tim Holtz Distress Oxide and regular Distress sprays through a handmade stencil… Hello all!! I’ve been off learning jewelry making, and my poor blog has been ignored while I’ve been metalsmithing, making glass and ceramic pendants etc. But the past couple of weeks, I took a break and did some paper crafting. It was so…

Gelli Arts Print Rescues a Sketch

For those who know me, you know that I have been trying to learn to draw, especially faces, for the past couple of years. It is my goal to be able to one day draw my Grandchildren, so I have some time to get better 🙂 . There have been a few times when I…

Another Gelli Art Print with Photoshop

Hello friends! I just designed a pile of stencils and stamps, and while I was waiting for the stencils to be made, I decided to cut a couple on my Black Cat Cougar cutting machine and test them out. I pulled out my trusty Gelli Arts Printing plate, and pulled some of the new Golden…

Photoshop Color and Pattern to our Glamour Girl

Well now that we have the shape of the drawing looking a bit better, it is time to have some fun! The drawing is still in black and white, but I wanted some color. And texture. So I took one of the prints from one of my Gelli Art Printing Plate sessions and brought that…

Photoshop Glamour Girl Makeover Highlights,Shadows and Color Fill

If you have been following along in this series, I now have the Glamour Girl’s face shape changed to be a little more pleasing, and now I am going to work on adding some shadows and highlights in preparation for adding color and texture. This way, the facial features should come through a little bit…