Hi all! Todays project involves two Gelli Plates and a Yupo paper stencil that I cut on the Silhouette, and some paint and Tim Holtz Spray Stains by Ranger. It’s a fun one so hopefully you’ll have two Gelli plates at your disposal 😉 .
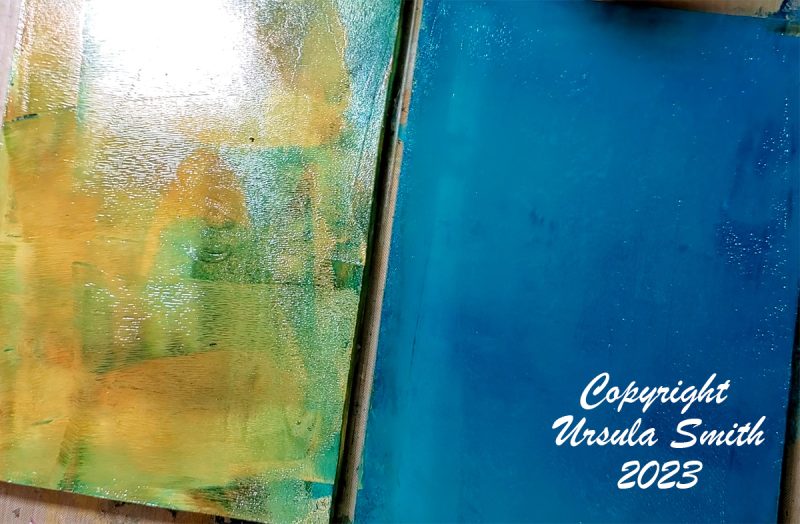
This project starts with rolling paint out onto the two Gelli Plates. I try to use different, contrasting colors on each plate. For instance yellows and oranges on one and blues and greens on the other. And maybe some reds on one or the other. Just brayer them on haphazardly. It looks best when they are not rolled through thoroughly and the paint is blotchy, but do try to coat each plate entirely so they are fully covered.
I am using Amsterdam paints on this particular day, and they are pretty thick like the heavy body Golden paints. I usually try to work with a thicker body paint, but I also try to add in some extra fluid paint as well, just to make it roll a little bit easier.
When I am done brayering the paint onto the Gelli Plates, I “clean” the brayer by rolling it off onto a scrap piece of paper. You could use two different brayers if you have an extra one. In this case some of the paint from the other plate mixed in with the other color paints for the second Gelli plate and that’s fine. If you really wanted to keep them separate, then you could use two different brayers or really make sure you’re cleaning off the one brayer really well.
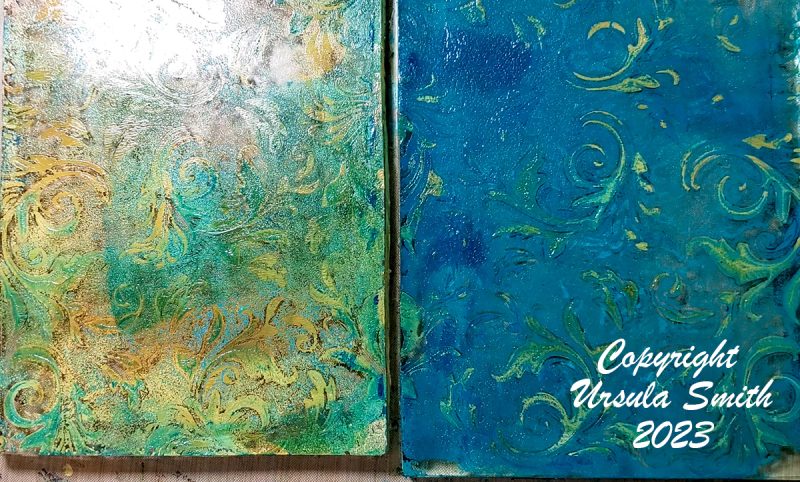
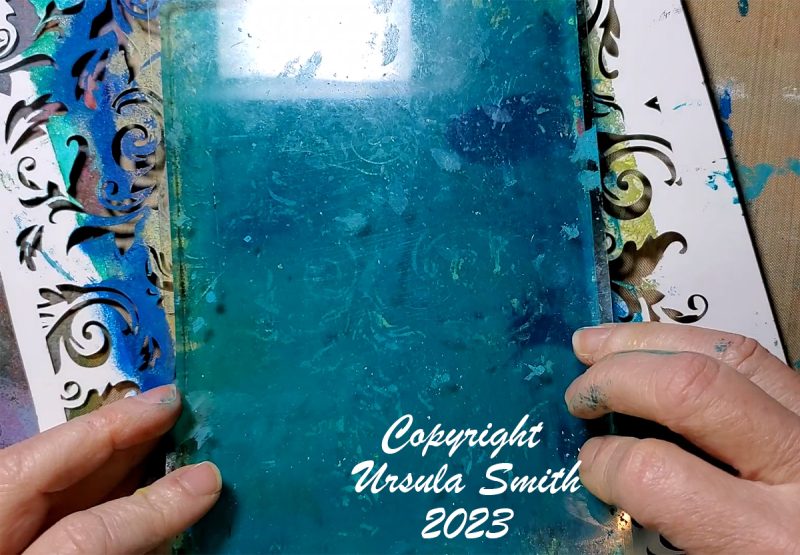
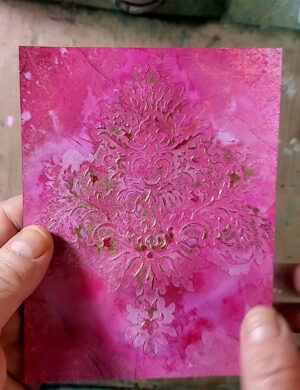
Next I take the stencil and lay it down on one plate. I take the other one, try and line the edges up with the first plate that has the stencil on it, and lay it down on top and press down. I’m basically trying to transfer the paint from one Gelli Plate to the other.
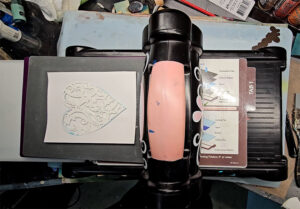
I pull the top Gelli Plate off and lay it next to the first Gelli plate and remove the stencil. With the plates next to each other I can take a full sheet of cardstock and lay it across both plates. If your plates are larger, you can use 2 different pieces of paper. Then I use the brayer to transfer the paint from the Gelli Plates to the paper.
In the video you will see that I covered the cardstock with a second sheet because the brayer still had paint on it from rolling out Gelli Plate number 2 and I didn’t want to waste paint on what will be the back of my project. But this is just an extra step- it’s not required. I brayer the cardstock to transfer the paint from the Gelli Plates to the paper. You can use your hands for this too, if you’d rather do it that way.
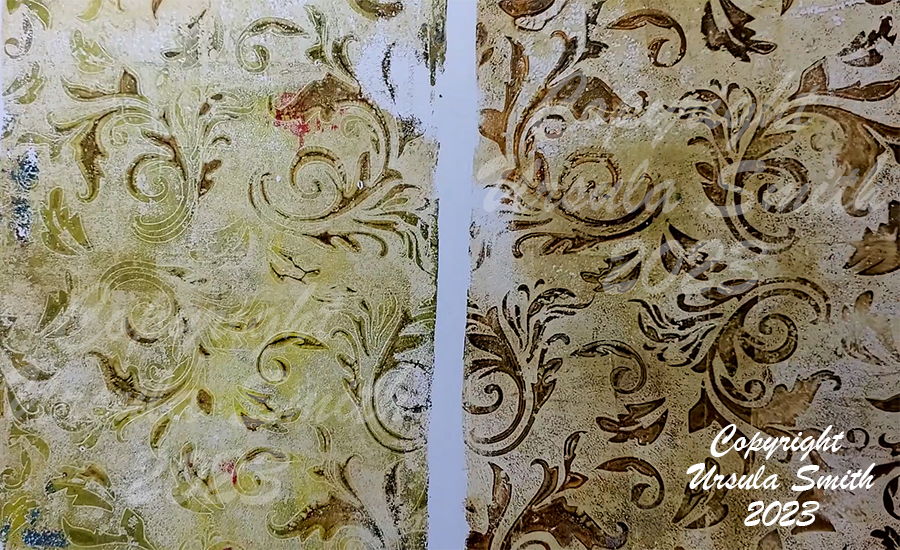
During the time when the 2 Gelli plates were together, the paints on each mix. You get some transfer of the paint colors on to the other Plate. Usually one gets more than the other, so the one on top typically gets a little less transfer, because it’s only getting the paint that’s coming through the stencil.
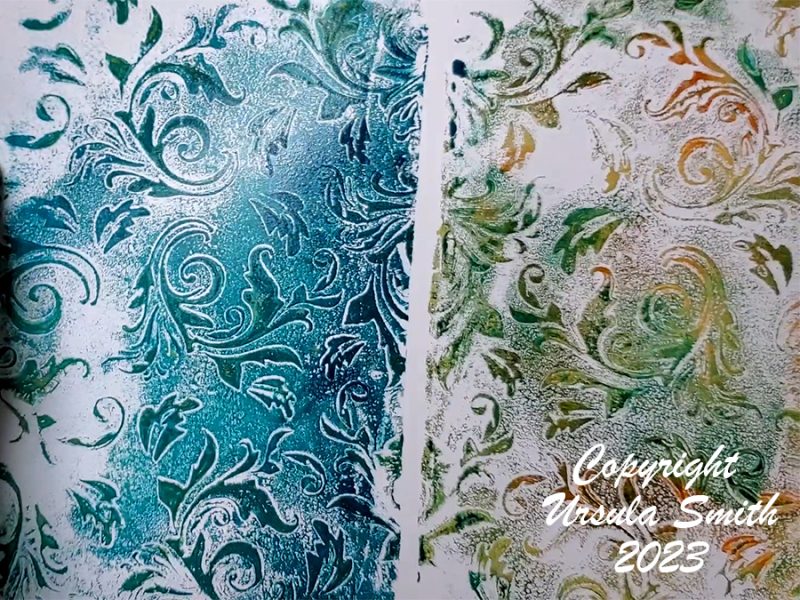
You get lots of different looks and you never know how it’s going to come out- it depends on paint colors, coverage, etc. Sometimes like in this example, there might be white space where paint didn’t transfer. I’ve showed in another video how you can wait until the paint is dry and then come back in with Distress Spray Stains and spray on top of the cardstock. The ink will color the paper, but you can wipe it off of the paint.
I love playing with this technique and hope you’ll try it too! Enjoy!