I love scrapbooking, that is no secret! But I also love to teach, and help, and it occurs to me that in many cases there are folks out there that might have the desire to scrap, but have never done it before. How do you start? What do you put on a page? How many pages should I do? These may be the questions you are thinking when you first start out. So hopefully, I can help address these questions here.
In order to find out some information, you may have done a search on Google or looked through some magazines, or you may have looked at some pages created by a friend. Those examples can sometimes lead to panic! You think, “I can’t do that!” or “I am no artist!” or “I don’t have all the equipment!” But, I am here to tell you to breathe deep, calm down, and believe that you absolutely can do it!! Yes, scrapbook pages can be uber creative with handmade drawings and embellishments and stamping and painting and embossing and … ![]() The list goes on and on. Yikes, no wonder some people don’t even begin!!
The list goes on and on. Yikes, no wonder some people don’t even begin!!
Really, truly, you do NOT need all that stuff on a scrapbook page!! If you are a creative sort and want to use scrapbooking as your art form, then by all means go for it!! But the real reason for creating a scrapbook page is to preserve a memory. That’s it!! It’s a simple concept, and as such, the process can be simple as well.
So what do you need on a scrapbook page? Well that depends on the memory you are trying to capture. Usually, there are photographs, but that is not always the case. I have a page that I created that has no photographs on it at all. It is just a simple page, with a pocket, and in the pocket are strips of papers that have quotes of the funny things my kids have said. I can add to it if I wish, and it will preserve the memories I have of the cute and funny things my kids came out with as they were growing up.
However, as they say-pictures are worth a thousand words, and so most scrapbook pages contain at least one photograph. The simplest page can be a background with a photograph and a date and name. I would consider those to be the absolute essential items that should be included on a page. You should have the picture that captures the memory, you should have the names of the people involved in the memory, and the place where the event happened, and don’t forget the date! Those are the absolute must-haves on a layout. These will allow you to return to it years later and know the basic facts.
If you would like to take it a step further, you can tell a little story about the memory. This can spell out why that event was so important, or funny, or sad, etc. Now when you look back years later, or someone else that wasn’t involved looks at the page, the story behind the page will be evident. This story, called “journaling“, can take a page from being just a snapshot of a moment in time, to being a page in the documentation of a life.
So here, is a simple example of a page that has all the basics:

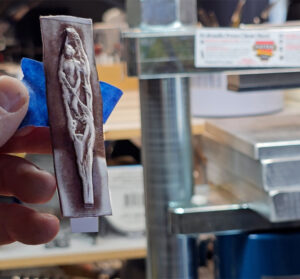
Now, if you want to add a little bit of pizazz, you can mount the pictures and other elements onto a different piece of paper/cardstock to have them stand out from the background. This is called matting. The papers can be cut with scissors, or a trimmer if you own one of those, and trimmed to be just larger than the photographs or other item that they are matting, so that the paper peeks out from behind the photo when layered behind it. If you take a single item, either the picture or journaling or even the date (think 9/11) and mat it first with one color/pattern of paper, and then mount that onto another color/pattern, it will give that item more importance on the page. Matting is a simple procedure, but it can give your page a more finished look. Like so:

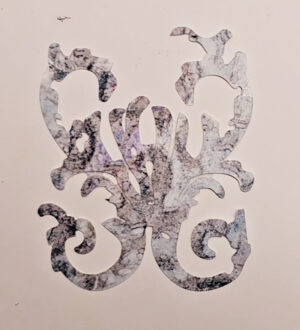
and see the difference if you add a patterned background:
Now if you have a scanner, you can capture other things like newspaper articles, a child’s artwork, certificates, or even schoolwork. These items can be scanned and be used along with, or instead of, photos on your page. Try using them as a background for your page also! I recommend scanning these things so you will still have the item in its original form, and you don’t run the risk of having items that will break down over time, potentially ruin your page.
If you are the computer sort, all of this can be done with a piece of photo editing software, if you feel more comfortable capturing your memories digitally! I still like to have “hard copies” of my pages, but I do a lot of my scrapbook work using my computer.
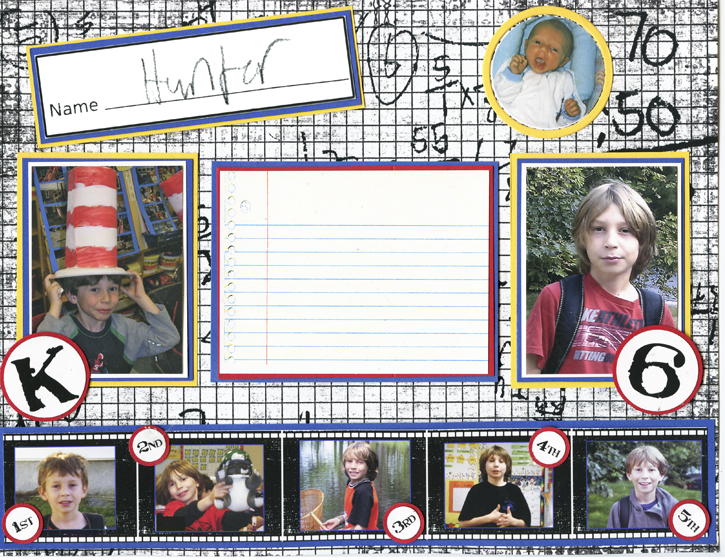
So here is my final example. It has a lot of information on the page-

- my son’s baby picture
- several pictures to capture my son’s years in elementary school and how he changed over the years
- the grade numbers are over each picture
- his name (in his own handwriting)
- the name of the school
- the year of his graduation from Elementary School
- a place for him to write his side of things- what was his favorite memory of his school, who were his friends, what does he imagine he will be when he grows up etc.
- The background is some of his math problems doodled on a background paper
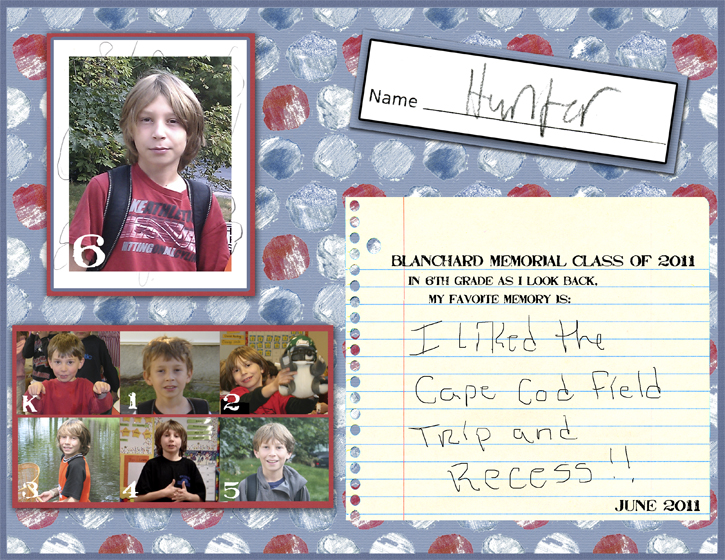
The previous examle was created digitally. Here is a similar page done in the more traditional (paper) format:

You’ll notice there is no paint, embossing, stamps, or other wiz bang embellishments on this page. It is a page that can be built with a simple paper trimmer (or scissors) to cut the paper, glue/tape to adhere the photos to the mats and then to the background, and photos. I did use some punches (the circles), but, if left square, they could be done easily with scissors.
The photos are in different sizes. This can be done with photo editing software, if you own that sort of thing, or any photo shop or copier can help you shrink or enlarge your photos.
Lastly, here are some Do’s and Don’t’s, including some items I didn’t cover previously.
Don’t:
- be afraid
")
- use originals, if at all possible, on your pages. Always make copies of your photo’s and other items.
Do:
- try to use paper that was intended for scrapbooking. This paper/cardstock has special qualities that help prevent it from breaking down over time and it won’t ruin your photographs. One tip- look for Acid free paper.
- same rule for the adhesives- use tape or glue intended for scrapbooks. Even places like Walmart and Target have these items now, so they are easy to find. I find tape easier than glue, but that is usually a personal preference. I know some folks are glue stick fiends, but I typically advise against those as I find they don’t hold up well over time.
- get started
As for answering the question “How many pages should I create”? Well that depends. Some folks scrap their pictures the minute they come out of the camera. I do NOT!! My feeling is- scrap what you can, when you can. I still haven’t done all my kid’s pictures from when they were young, because I started scrapbooking after they were toddlers. I will get to them, but I decided to start scrapping the current pictures. They were already on my computer and a bit more organized than my earlier pictures and it was an easier place to start. Whenever there is a project for school, scouts, etc I organize a bit more and try to journal or create a page at that moment. Sometimes I have lots of time and the layouts are works of art. Sometimes they are a lot less than that ![]() . However, I always try to put the basic information- Name, Date, and Place- somewhere on the page.
. However, I always try to put the basic information- Name, Date, and Place- somewhere on the page.
So, I hope this helps at least one person get going on a page that will document a child, a parent, a pet or a fun time spent with friends!! Relax and Enjoy the Process!!