Hello friends! I know we’ve talked about a million times over making your own embossing plates and a lot of times I use die cuts that I’ve cut myself from my digital cutter.
I know we’ve also talked about how you can use just dies that you buy off the shelf. Typically, I cut die cuts either out of cardstock or yupo paper and layer 2 to 3 layers in
order to make a thicker plate to then emboss with. You can see one of the discussions in this post.
So today I wanted to point this idea out, understanding that it might be obvious to some folks 😉 . But that’s why this is short and sweet haha.
In this case, the die I was using was from a Tim Holtz Bold Text Die. It was a phrase, “You got this” that I use a lot. I’ve made this phrase using my digital cutter, but in this case I liked the different sizes of the fonts, but I didn’t love the shape. I didn’t want it square, in particular for the project that I was planning on using it for. And so just wanted to point out that you can change it, right?
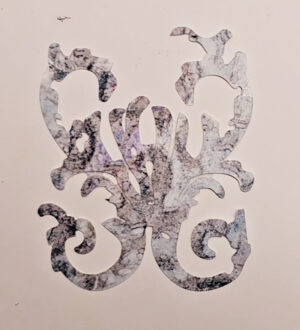
The original Bold Text Die Cut:

The Bold Text die, gives you the phrase, but all the letters drop out and you can use the letters. So, I just used a piece of mat board and then layered 2 layers of letters on top of each other and changed the format. So instead of a square, I made it into a strip going horizontally across.
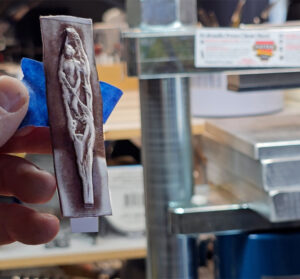
Here is how the plate turned out…

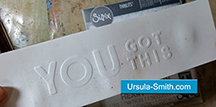
And how the strip looked after embossing:
NOTE: I could have used the original background die cut and cut it apart to do a similar thing, but because the edges are also cut by this die, when I went to emboss the edges would have also been embossed causing what would look like ridges. Also, the “O’s” would be missing their centers. I have tricks to overcome this, and I probably should have at least talked about it here, but I can try to revisit this in a future post.
So if you have Bold Text or some other die cut that can be cut apart and re-aligned, give this idea a shot!
Here is how the Project turned out!

Enjoy!